
Choosing video equipment for a digital video setup in the classroom is challenging. Since 2013, I’ve been teaching Digital Design at Osceola Technical College. Over the years, we’ve completed numerous video projects for the classroom and school. Drawing on my experiences in the classroom, I wanted to document the equipment I selected and explain my reasoning. The following post outlines my thought process regarding the equipment and aims to assist you as you build your classroom setup. For full transparency, the views expressed in this post are my own, and I’m not being paid for this content.
As we begin discussing the capture of video in classrooms, I would like to focus on two major topics.
- Choosing the Right Camera
- Creating an Audio Capture System
Choosing the Right Camera
Choosing the right camera can be a challenging decision. I have multiple SLR cameras that we can use to capture video. These cameras excel at capturing video, but they also have some limitations. One of my most significant issues is the noise associated with the lens’s autofocus. Yes, I can use an off-camera microphone, and yes, I can use the camera on manual focus, but why? I want my students to focus on the skills and telling the story. For this reason, I have found using a dedicated camcorder with the students is easier.

As I’ve built my latest system, I chose Canon’s XA70 Camcorder. I chose this partially because I have an older Canon XF400, and I’ve had good luck with the Canon Brand. The XA70 enables 4K video shooting and features a 15x optical zoom (25-382mm) with a 1-inch sensor. Furthermore, the XA70 features a 3-step neutral density (ND) filter for controlling exposure in bright situations and two XLR inputs for capturing additional audio tracks.
While I could build an SLR cage system and add all of these items, it’s much easier for the students to use a single camera with the necessary components. If students pursue video production or filmmaking, they can create their own systems later in their journey.
Don’t Forget the Support
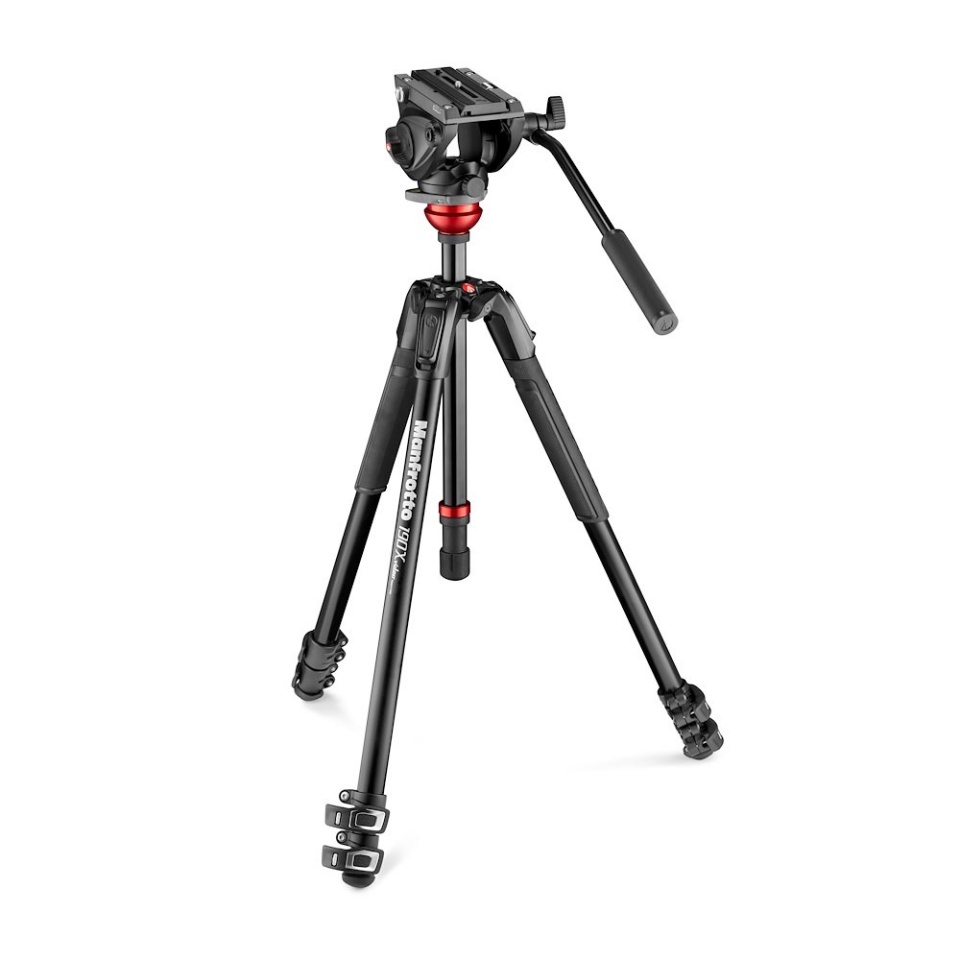
Ensure you invest in a reliable tripod system to support your camcorder. When I shop for video tripods, I look for a good fluid head to allow some nice pan shots. I’ve been impressed with the Manfrotto 190X tripod legs with the 500 fluid video head. This tripod is sturdy enough for the camcorder, yet still light and easy to use for the students.
Camcorder Accessories
In addition to the camcorder, you may need some supplementary accessories, such as memory cards and batteries.
Creating an Audio Capture System
Teaching students the importance of capturing high-quality, clean audio is essential. This means using external microphones with the camcorder. In the studio, I like sending the audio directly into the XA70’s XLR inputs. These inputs sync the audio directly with the video track, and it’s ready for editing in Premiere Pro. You can even keep the internal microphone tracks as backups.
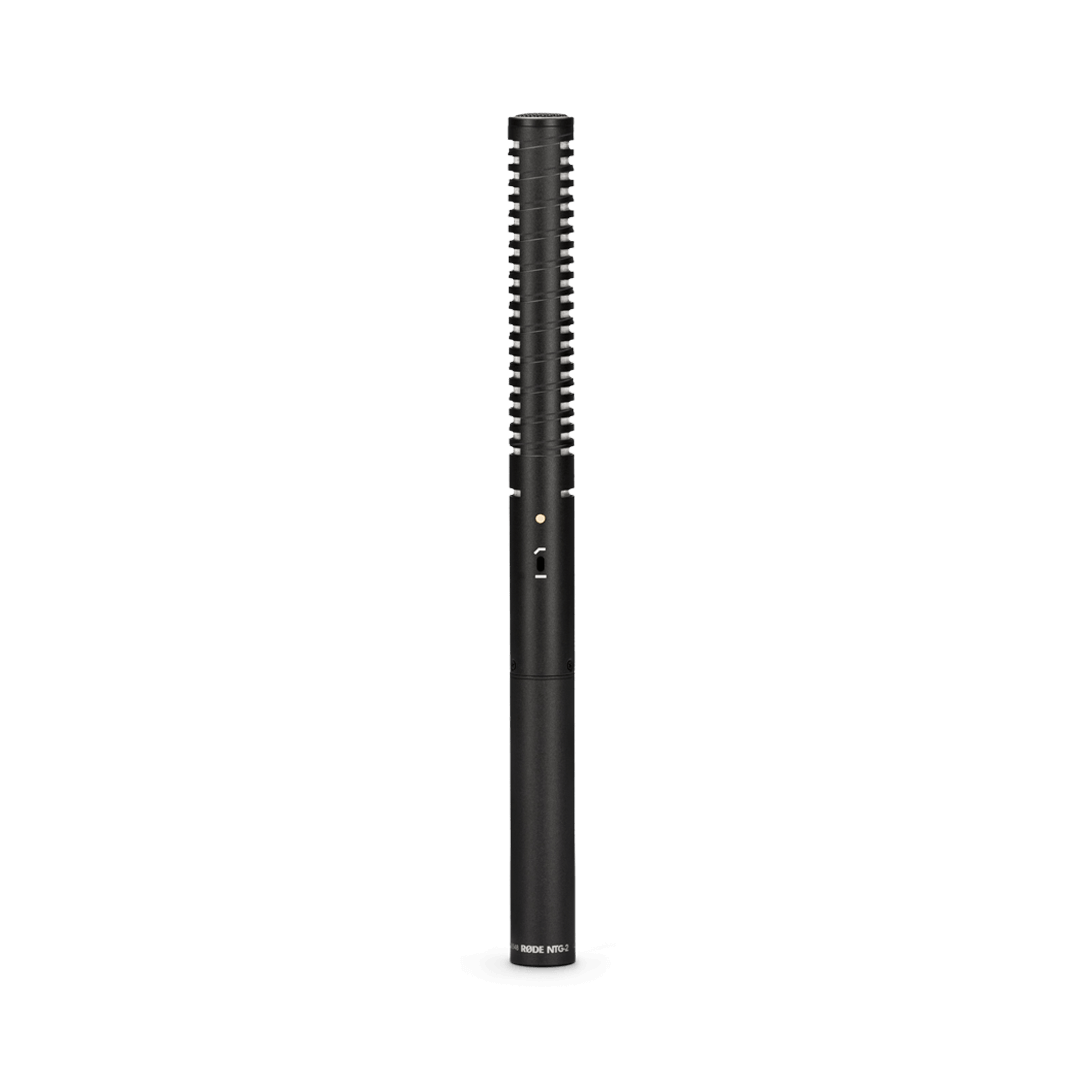
The microphone I’ve been using is the RODE NTG2 Dual-Power Shotgun Microphone. I started using this microphone in the classroom over five years ago, and I’ve been impressed with its quality and performance. I also appreciate the dual power options, including battery or phantom power, depending on the task. Typically, I use this microphone when working in the studio, attached to the XA70 camcorder. However, in the field, I prefer to remove the microphone and build an audio capture system for the students.
Field Audio Capture System
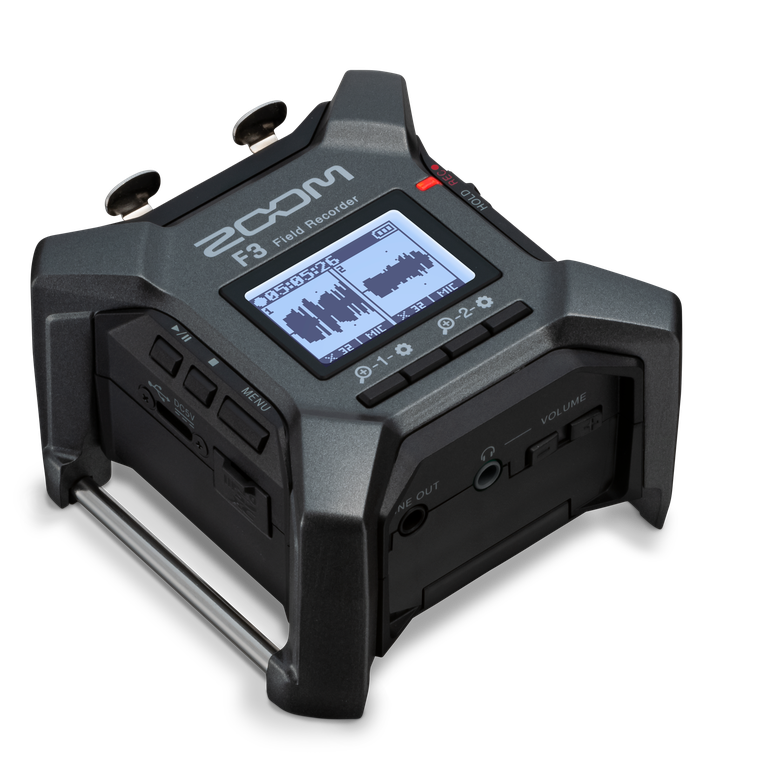
When working in the field, I like to place a student in charge of the sound. This means they need a field recorder, a boom pole, and a windshield system for the microphone. The last field recorder I purchased was the Zoom H4n, which served the students well. For this system, I opted for the Zoom F3 Field Recorder. I chose this device because I wanted a dedicated field recorder with 32-bit recording to handle the microphone. I appreciate the device’s compact design, and when paired with a RODE boom pole and the NTG2 Shotgun Microphone, the student can effectively monitor the sound.
Another thing to remember in the field is how wind can affect the quality of your video outdoors. You can use a “dead cat” as a windshield or invest in the RODE Blimp, which provides both a suspension for the microphone and a windscreen.
Monitoring the Sound

Having a good pair of headphones to monitor the sound is also very important. I’ve had good luck with the Audio-Technica ATH-M50x headphones with the students. They offer a comfortable fit and a good sound at a decent price point. Plus, the cushions are easily replaceable.
Additional Accessories
Don’t forget the cables and carrying case for the Zoom F3.
Using this setup in the classroom
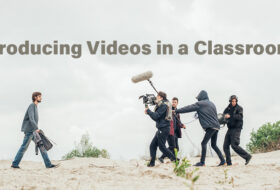
Once you have the setup, the best way to work in a classroom is to send the students out in teams, with each person having a role. In the field, you need at least four people in the field to get the production up and running. You need a director to guide the actors, a camera operator to run the camera, a sound technician to work the boom and monitor the audio, and a lighting technician to help ensure the scene is well-lit. You’ll also need someone to slate each scene to ensure the video and audio are synced. I tell the lighting technician to fill this role in a small scene.
Conclusion
In conclusion, selecting the right video equipment for a design classroom is critical to fostering an engaging learning environment. By focusing on quality cameras, audio systems, and reliable accessories, we can empower students to develop their skills in video production. Remember that simplicity and ease of use are key in educational settings, allowing students to concentrate on storytelling rather than technical challenges. As you build your setup, consider the needs of your students and create an atmosphere that inspires creativity and collaboration in their digital projects.
