
What is Aperture-Priority Mode
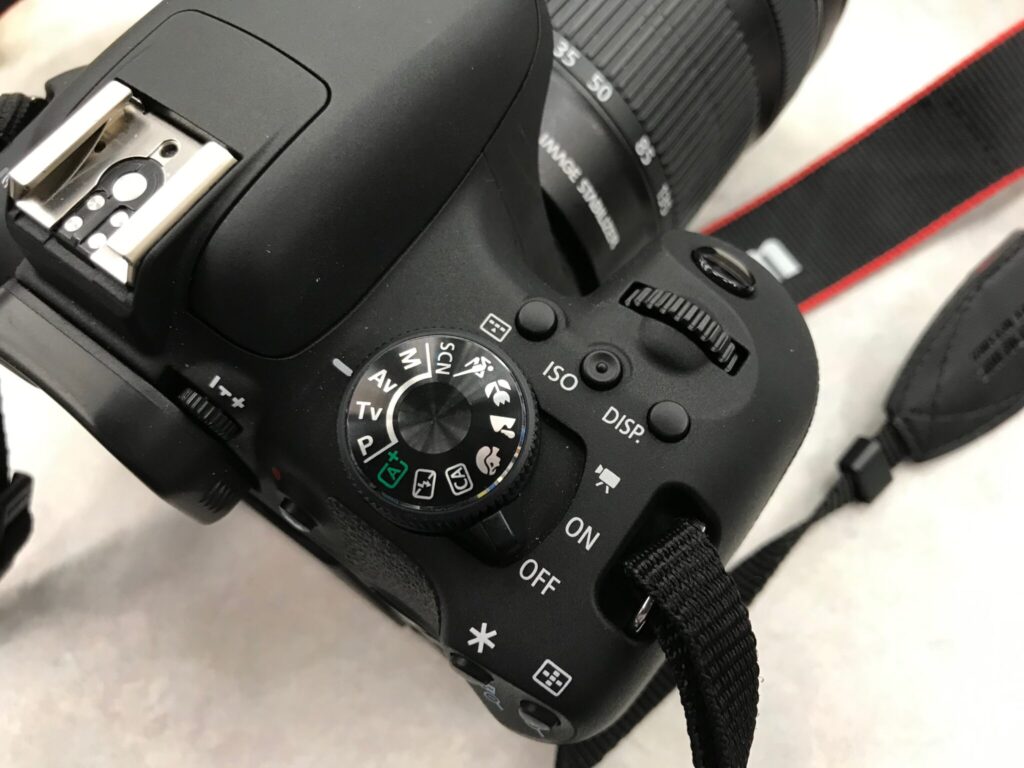
Aperture-Priority or Av (aperture value) Mode determines the amount of light traveling through the lens. In this section, you will learn how to control the depth of field in the image.
Controlling Depth of Field
When we talk about the aperture, we’re talking about the amount of light that is coming into the camera. The aperture is a series of blades that open and close to control how much light is allowed to pass through the lens and onto the sensor/film plane. As shown below, each aperture is assigned a value from f1.0 to f32.
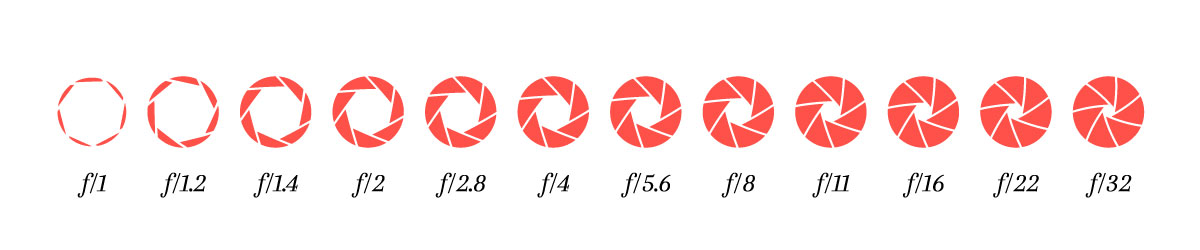
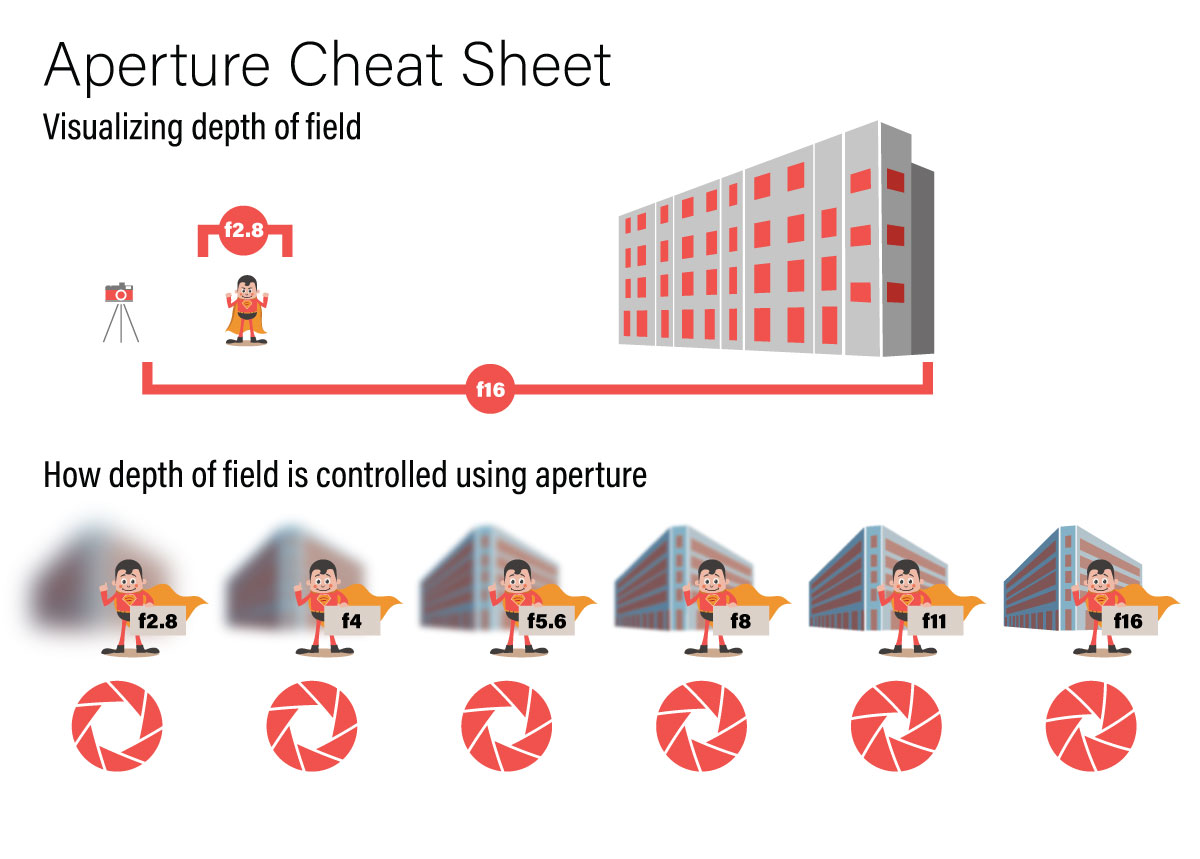
As you can see, the smaller the f-number, the more light the aperture allows into the camera. Another interesting feature of the aperture is that it controls the depth of field, or what is in focus in the image. A “larger aperture” such as f2.8, will have a smaller depth of field, which means the area that is in focus in the image is a short distance (see cheat sheet below). Furthermore, f2.8 will let in a lot more light when compared to an aperture such as f16. When shooting f16, a “smaller aperture,” your depth of field will be increased as shown below.
Why don’t I have an f2.8?
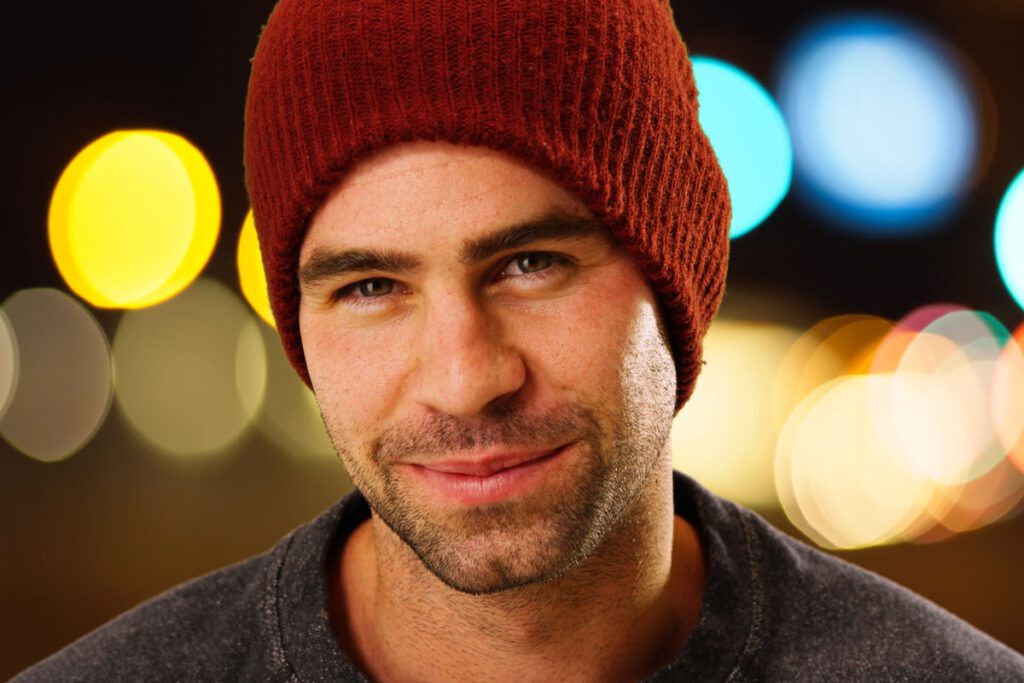
Not all lenses allow you to stop down to f2.8 or below. This is a function of high quality, “fast” lenses that are generally quite expensive to attain. Many event and wedding photographers use these lenses because they need the extra light provided by the wide-open apertures in low-light situations. Portrait photographers like the bokeh, or effect created by the shallow depth of field in the background with bright lights or areas of lightness, and are quite picky about the lenses they shoot to get the right bokeh effect.
Working with depth of field
Using depth of field to isolate your subject is an easy process. The effect is more prominent with a longer focal length, so change to a longer lens or zoom all the way in your current lens. Then, isolate your subject and move in a little closer. If you can see a shallow depth of field through the lens, you are doing it correctly. One thing to make note of is when you look through the viewfinder, you are always seeing the lens wide open. This means you’ll always see a preview of how the image will look at the wide-open setting. If you want to increase your depth of field to f16, you won’t see the preview through the viewfinder, instead, you’ll need to click on the depth of field preview button located on the front of the camera to the right of the lens.
Getting Creative
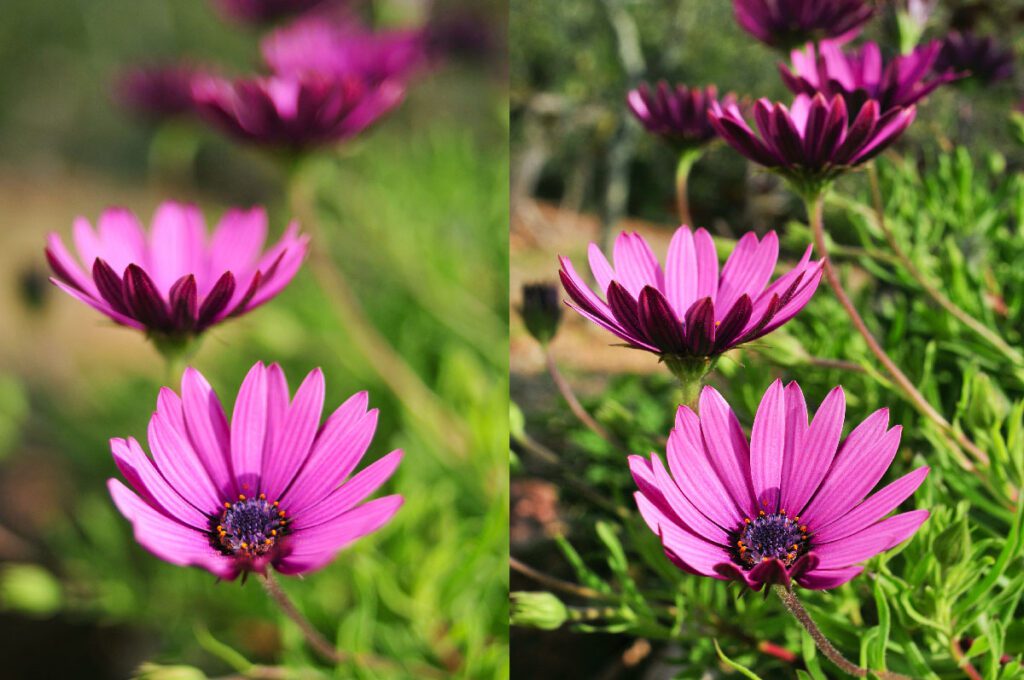
How to use depth of field is ultimately up to the photographer. You can choose to show everything in the image by using a “smaller aperture” (f16 and above), or you can isolate your subject by using a “larger aperture.”
Isolating your subject
Creating Bokeh
Using Lightroom to Cull Photos
Your Turn
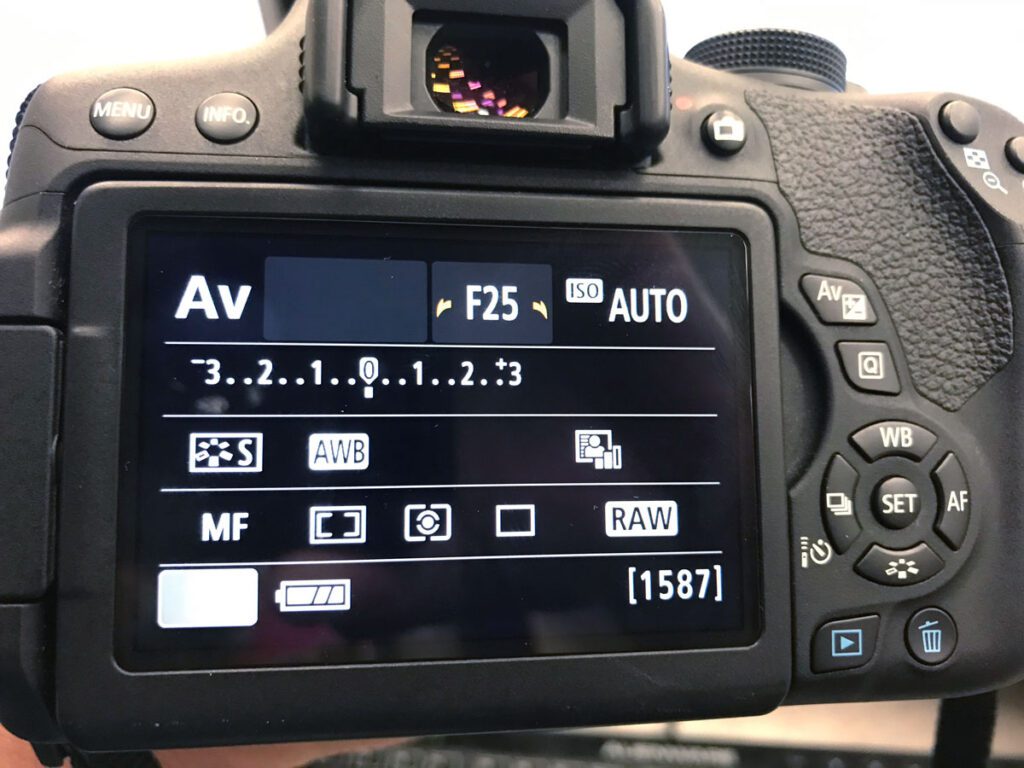
Now it’s your turn to get out there and experiment with the aperture. Before shooting, be sure the camera is set to the proper settings.
- Av Mode
- Auto ISO
- Auto White Balance
- RAW Format
As you take the shots, move the dial back and forth to change the aperture. The camera will adjust the other settings allowing you to focus on the aperture and how you can be creative with it. Remember to use the Depth of Field preview button to view how the image will appear before you shoot. Challenge yourself to try these different creative effects:
- Subject Isolation
- Extreme Depth of Field
When done, import your shots into Adobe Lightroom, review your progress, and start rating your images.