
What is Shutter-Priority Mode
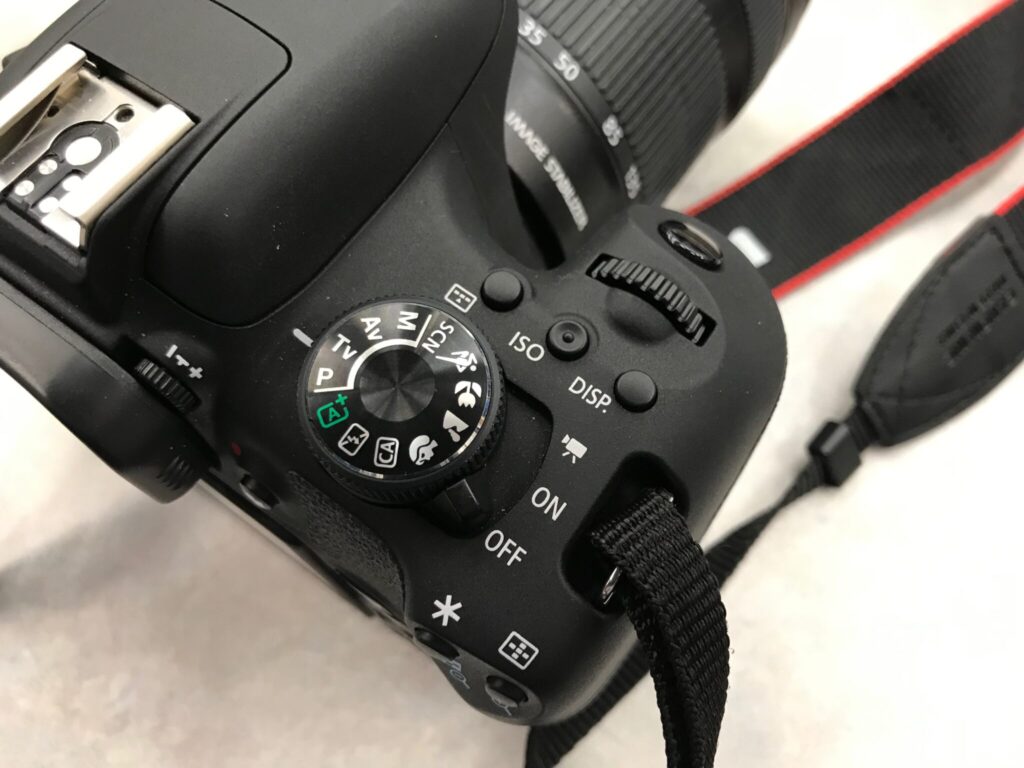
Shutter-Priority or Tv (Time Value) Mode controls the amount of time light is allowed to expose the sensor. In this lesson, you’re going to learn how to control time by adjusting the shutter speeds on the camera.
Controlling Motion
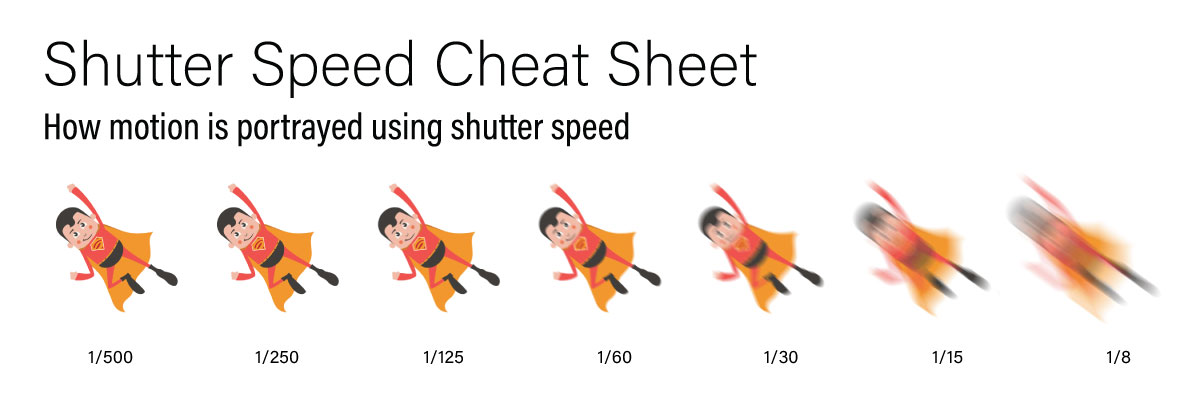
In every SLR camera there is a shutter that sits between the mirror and sensor/film plain. The shutter controls the amount of time the sensor is exposed to light. Much like a shutter on a window, the shutter opens and closes to control the light, the only difference from your windows is the amount of time the shutter is open. In the case of a camera, the shutter opens and closes in fractions of a second. Below is an example of how the shutter speed is used to portray motion in an image.
How Low can I Handhold?
As you can see by the above graphic, blur will happen to your images as turn down the shutter speed. So, the question is how low can you handhold a camera without camera shake? This is really an individual question, as some people have steady hands and understand how to properly brace themselves while shooting. Others, not so much. A good rule of thumb is you can handhold half the focal length of the lens. Huh? Let me explain. If your shooting with a 100mm lens, plan on using a tripod if you’re going to shoot below 1/60 of a second. If you’re using a 50mm lens, plan on using a tripod once you get below 1/30 of a second. The difference is due to how motion becomes more visible as the image is zoomed in.
Using Motion as a Creative Control
Now that you understand what shutter speed controls, it’s time to look as some examples of what you can achieve through changing the shutter speed.
Freezing Motion
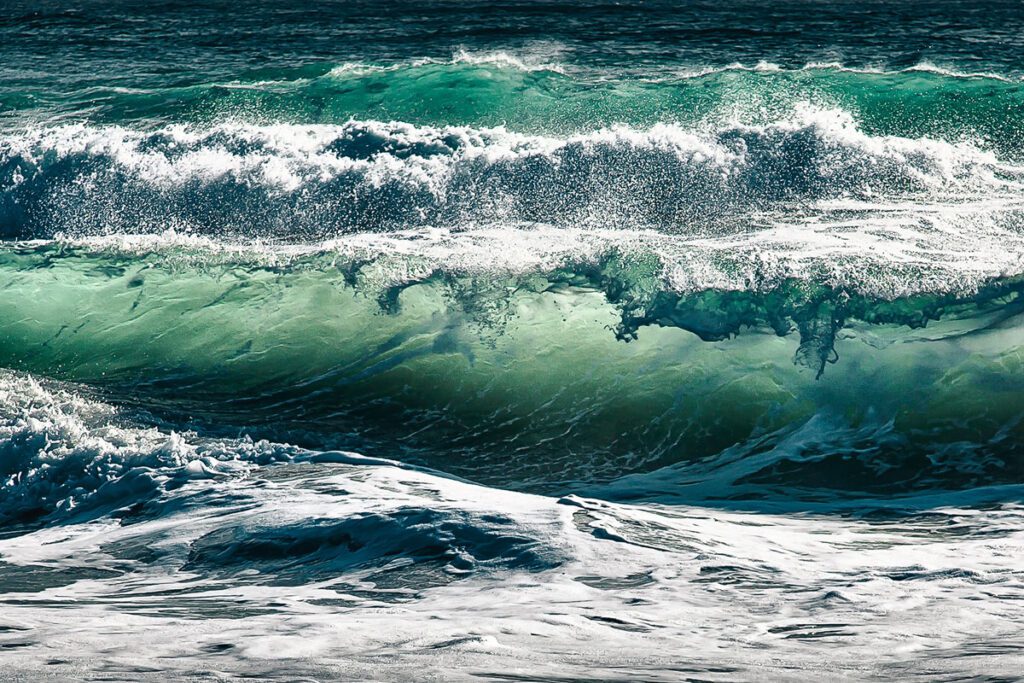
Using a fast shutter speed such as 1/500 of faster will allow you to “stop” the action in the scene.
Blurring Motion
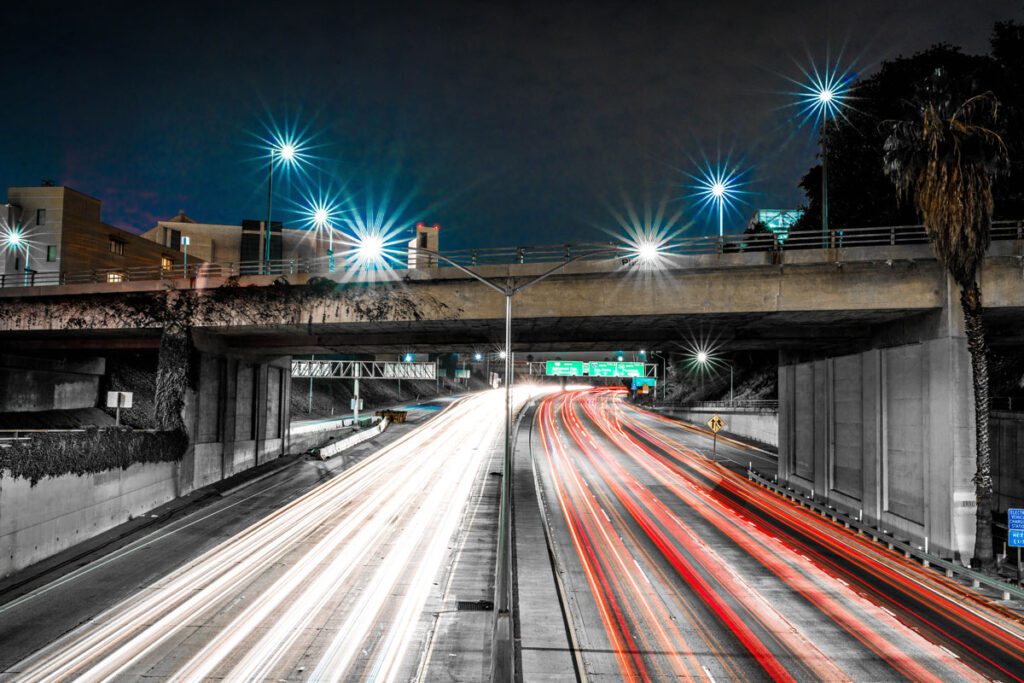
Using a slow shutter speed such as 1/15 or slower will allow you to blur motion in the scene. You will need a tripod to achieve this effect.
Motion Tracking
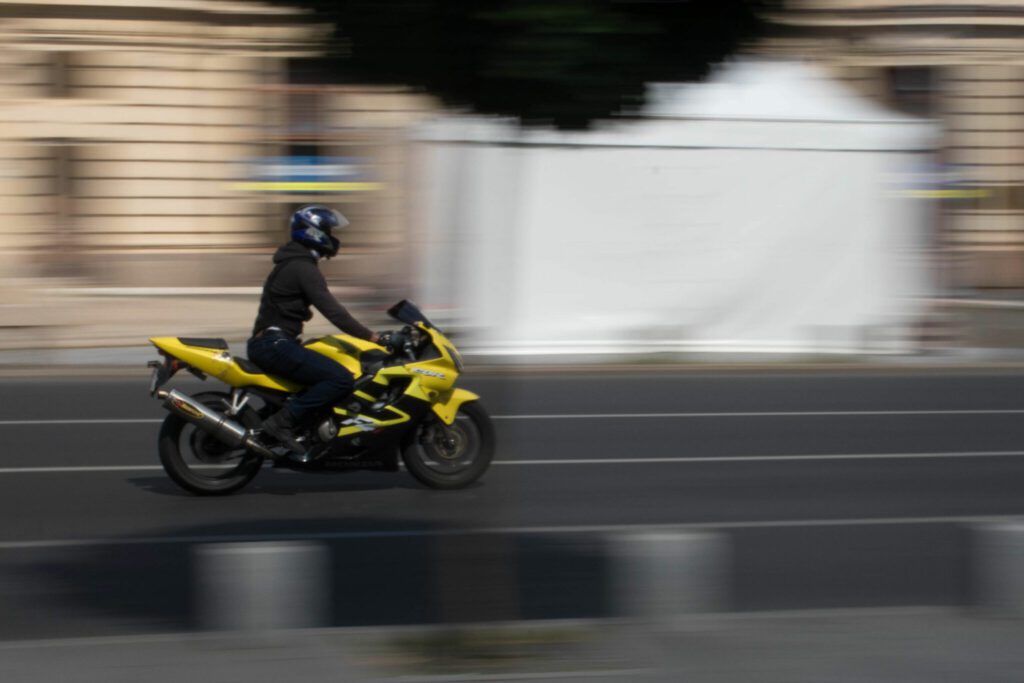
Using a slow shutter speed you can hand-hold the camera and try to track motion. For settings, it’s a matter of trial and error and a lot of practice.
Ghosting
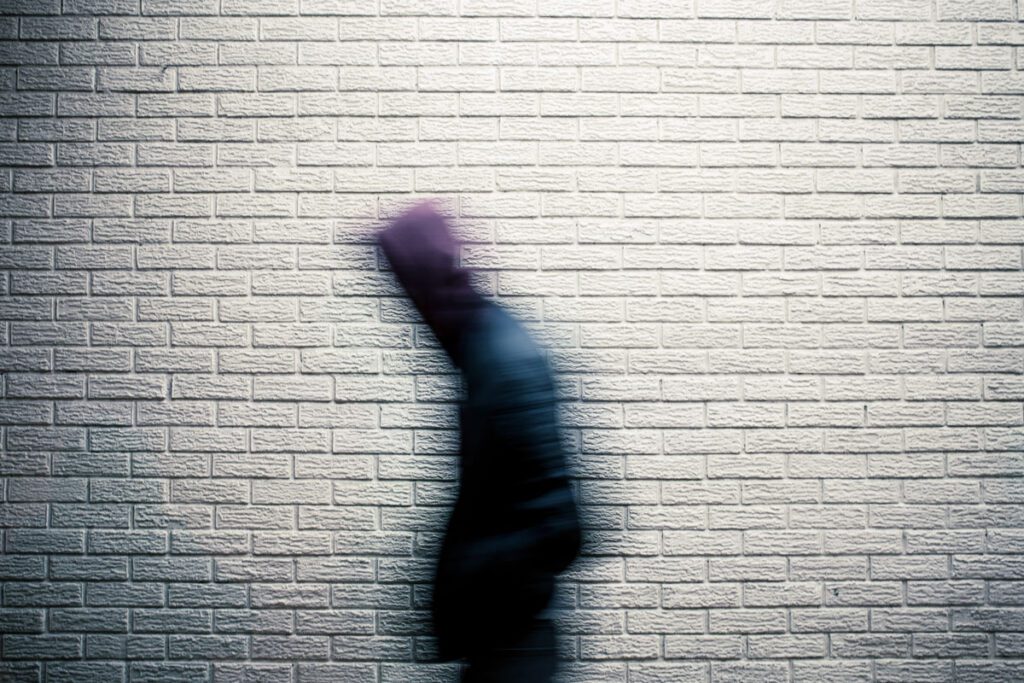
Using a tripod, setup your camera in the scene and have your talent move through the scene and they will appear ghosted with the background remaining sharp. Another popular trick is to have the main focal point stand still and have the extras move around them as well. For settings, it’s a matter of experimentation.
Zoom Blur
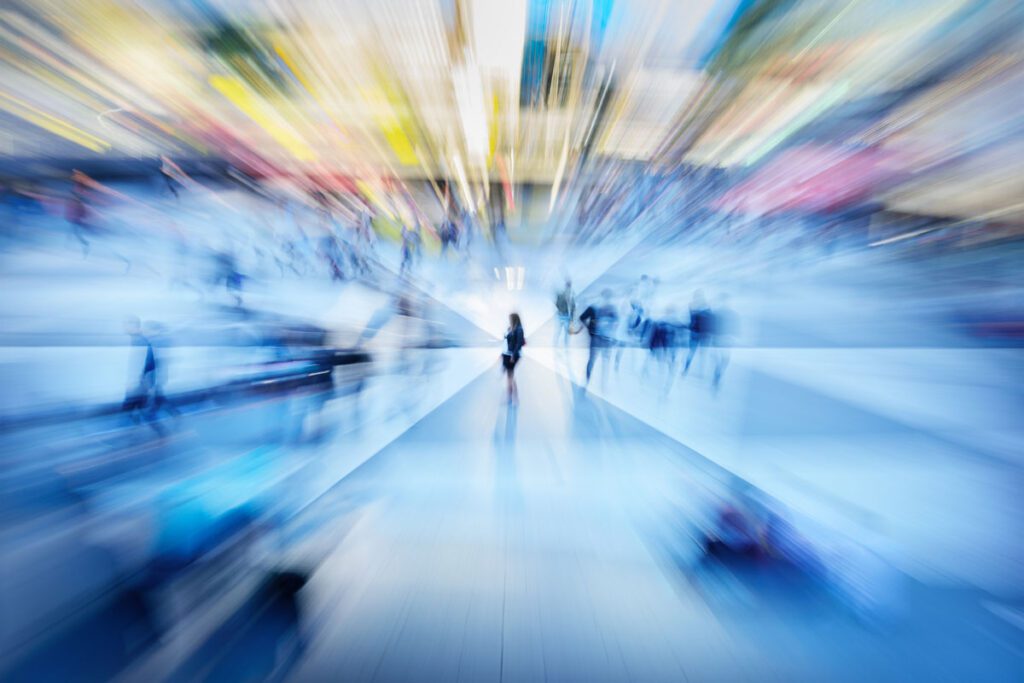
Arguably, one of the hardest shots to pull off well. Use a slower shutter speed and move the zoom ring while the image is being exposed.
Using a Tripod
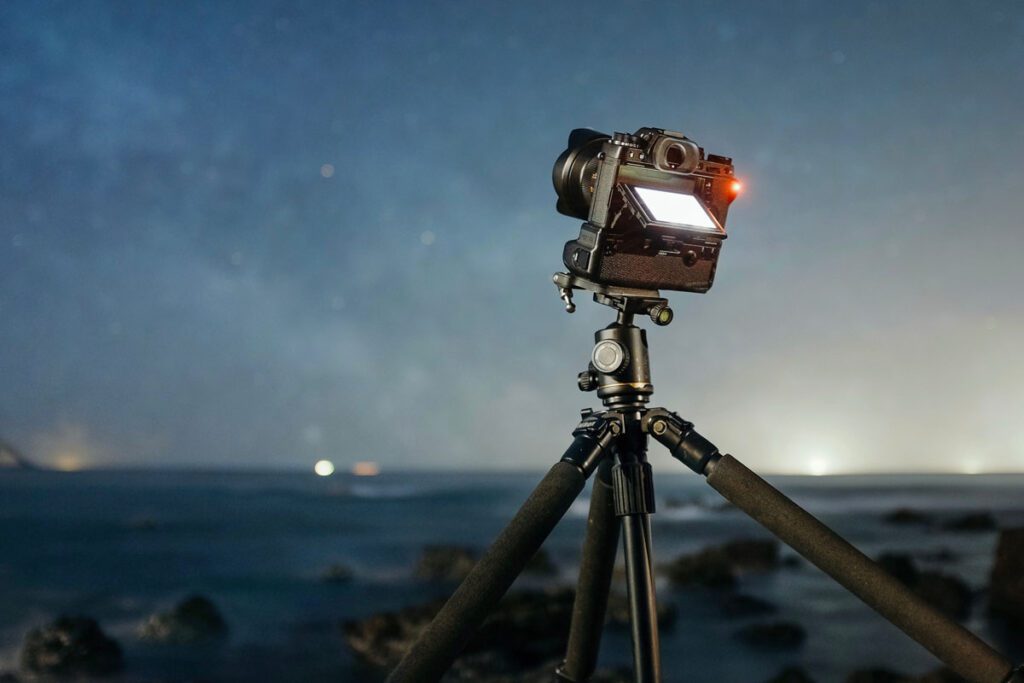
A good tripod is an essential took for a photographer, as it’s important to have a steady surface to be able to shoot from. It will help your images be sharper and allow you more flexibility when shooting in low light situations.
Components of a Tripod
A professional-level tripod is composed of two sections. You have the legs and the head of the tripod. By separating these two items you can customize the tripod for your unique shooting situations. For the legs, they come in aluminum and carbon fiber varieties, with many different lengths. This allows you to purchase a set that fits your budget and your use. If you’re going to be shooting in the field and hiking a lot, then a light-weight carbon fiber set of legs would be better suited than a 60″ aluminum tripod meant for a studio. As far as heads go, there is a myriad of different options including ball heads, 3-way heads, pistol grips, fluid heads, etc. The most common is the 3-way head, which gives you pan/tilt and camera rotation abilities. Most heads also include a quick release system for attaching the camera to the tripod.
Using a Tripod
Using a tripod is a straight-forward process. You need to extend the legs to the correct height and place the camera on the tripod head. But, there are some things to keep in mind:
- When possible, fully separate the legs. This provides a wide, stable platform.
- Always try to get the tripod head level before setting up the camera. Many heads come with a bubble level to help you.
- Fully extend the legs before raising the center column. Raising the column takes away from the stability of the tripod.
- If you’re outdoors in a windy location, use a tripod weight system to help weigh the tripod down.
I don’t have a Tripod
Don’t fret, there are other ways to help you steady the camera while you are shooting.
- Position your body next to a solid object, such as a wall, and use it to steady your body.
- Placing the camera on any flat surface, such as a table, will help stand in for a tripod.
- Using a sandbag for surfaces that are uneven will help you steady the camera.
Finally, don’t forget to turn off image stabilization if you are using a tripod!
Using image stabilization on a tripod will negate the effect and actually cause the images to have a slight shake to them. This is due to how the mechanism works. To be safe, always turn it off when you place the camera on the tripod.
Using the Develop Module in Adobe Lightroom
Your Turn
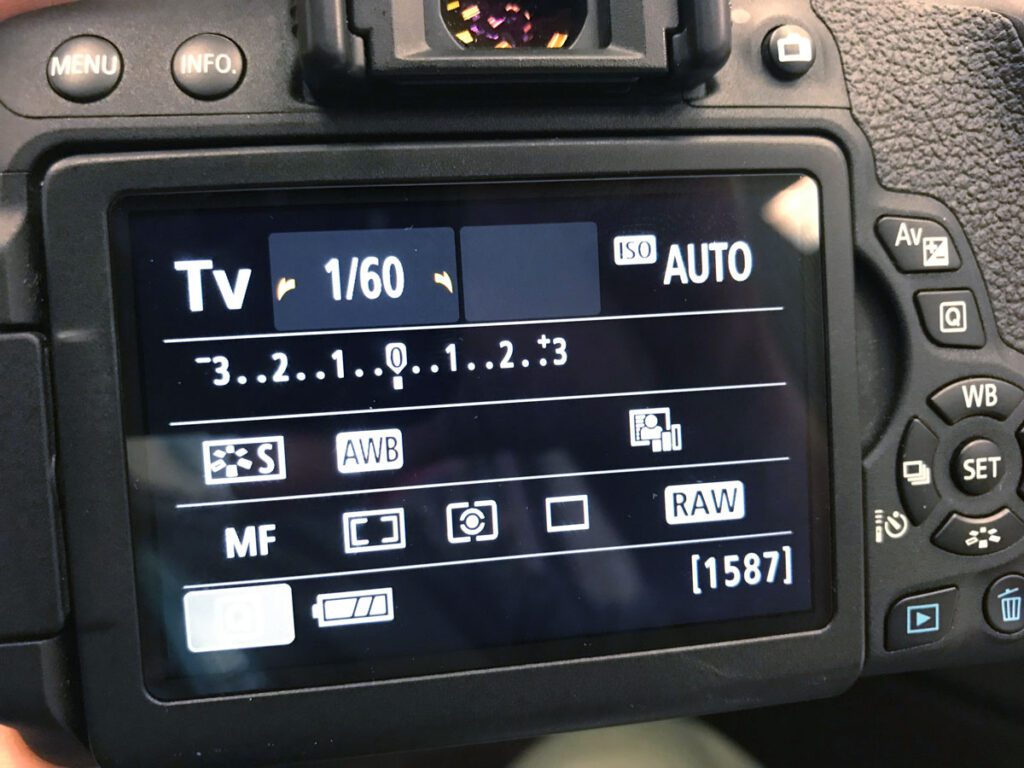
Now it’s your turn to get out there and experiment with shutter speed. Before shooting, be sure the camera is set to the proper settings.
- Tv Mode
- Auto ISO
- Auto White Balance
- RAW Format
As you take the shots, move the dial back and forth to change the shutter speed. The camera will adjust the other settings allowing you to focus on the shutter speed and how you can be creative with it. Challenge yourself to try these different creative effects:
- Freeze Motion
- Track Motion
- Create a Ghost
When done, import your shots into Adobe Lightroom and work with the Develop Module to edit your images.
Camera on Tripod by insung yoon on Unsplash
https://unsplash.com/photos/YE08WHn8VYQ
Juno Beach, Florida by Leo Roomets on Unsplash
https://unsplash.com/photos/_asfY_cHGNk
Freeway at Night by Drew Graham on Unsplash
https://unsplash.com/photos/aXELB30jPvU
Man on Motorcycle by Grégoire Bertaud on Unsplash
https://unsplash.com/photos/WiGrKK6WPRM
Motion Blur by Hybrid on Unsplash
https://unsplash.com/photos/8iN-YTPHAEw
Motion & Zoom Blur by connel_design on Adobe Stock
https://stock.adobe.com/images/motion-and-zoom-blurred-pedestrians-crossing-sunlit-square-effect-made-in-camera-not-post-processing/99104286?prev_url=detail